

 English
 Español
 عربى
عربى русский
Understanding Matrix LED Projector Headlight Systems
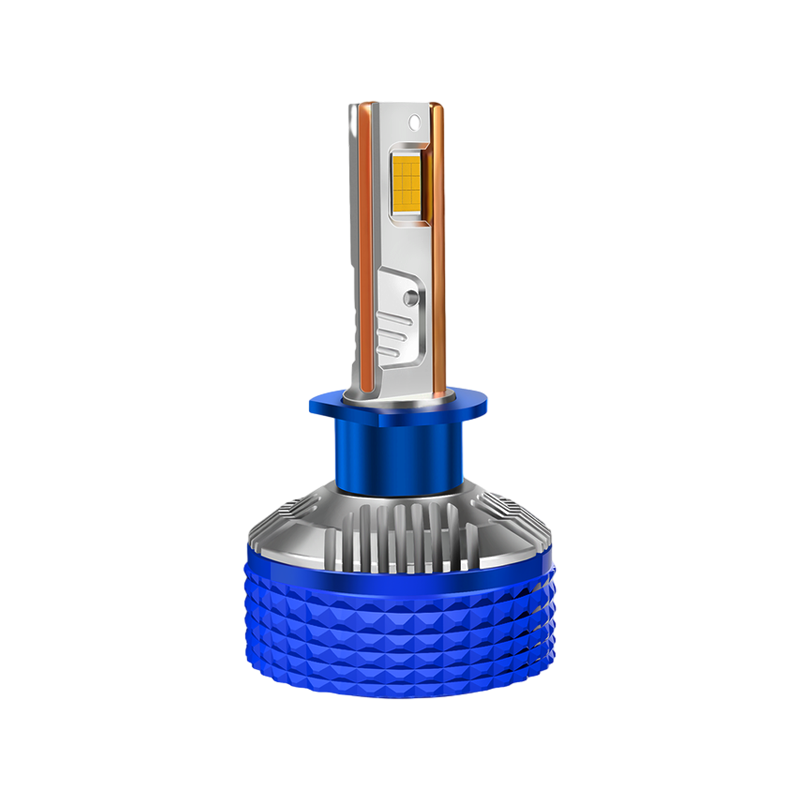
A retrofit built around LED Projector Lens Matrix Headlights For Head Light is not just a bulb swap. Matrix systems divide the light source into individually controlled segments, each capable of switching on or off within milliseconds. This segmented control is what allows a matrix beam to hold high beam intensity across most of the road while automatically dimming only the narrow zone where oncoming traffic sits.
Inside the housing, the projector lens focuses the LED output through a precise optical path rather than scattering it like a reflector-only setup. The result is a sharper cutoff line, better contrast on the road surface, and less stray light bouncing into a driver's mirrors ahead. For anyone comparing automotive light bulbs across retrofit categories, matrix LED modules typically sit at the top of the beam-control hierarchy because the optics and the electronics work together instead of the bulb doing all the work alone.
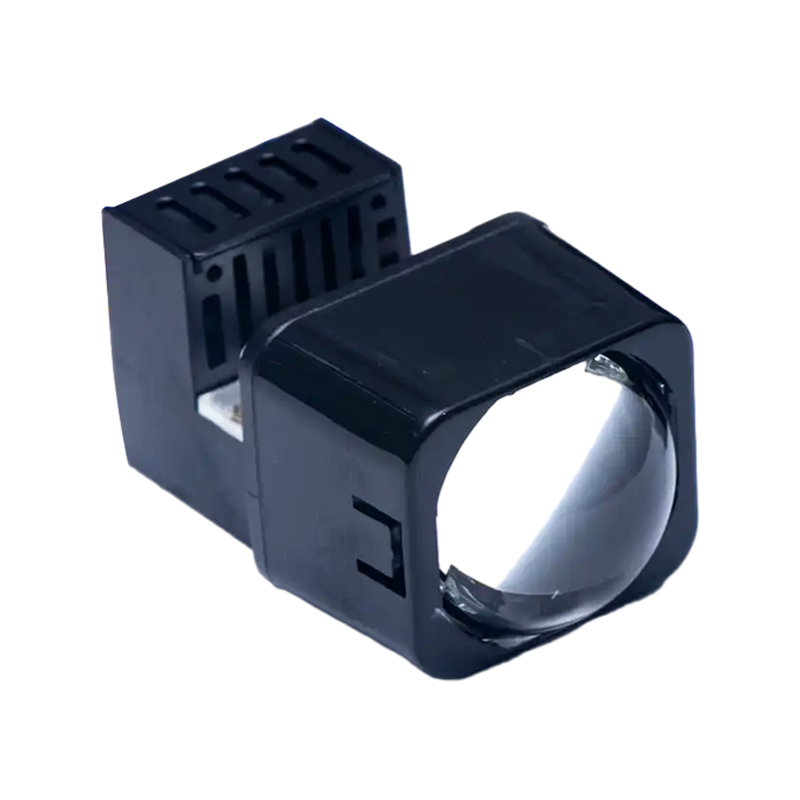
Core Components of a Matrix Module
- Segmented LED array with independent driver circuits
- Aspheric or bi-projector lens for focused light output
- Heat sink and thermal management block
- Control unit that reads camera or sensor input for beam shaping
The Role of Projector Lens Shrouds in Beam Control and Styling
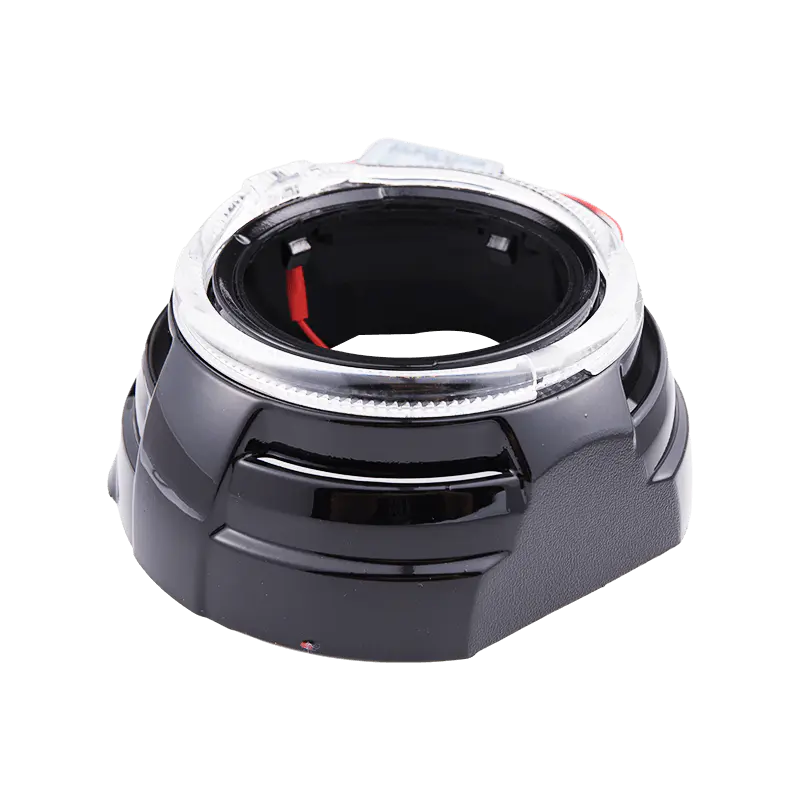
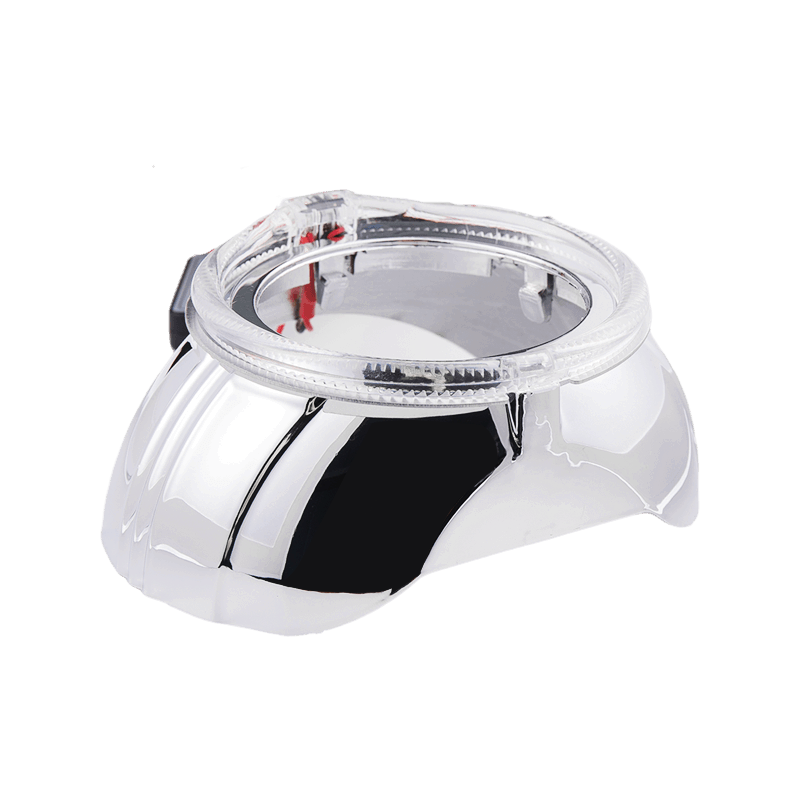
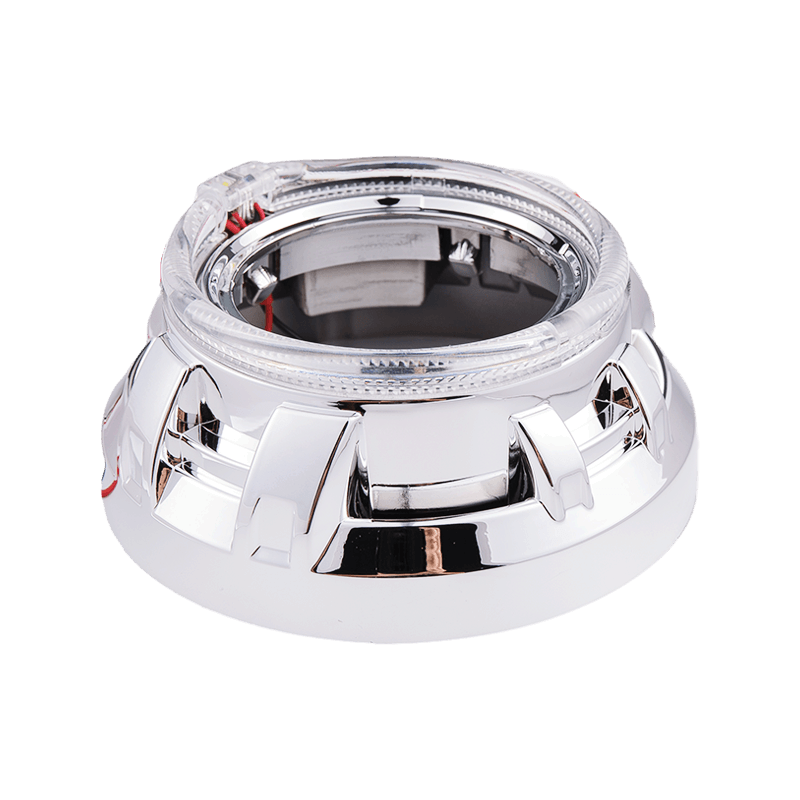
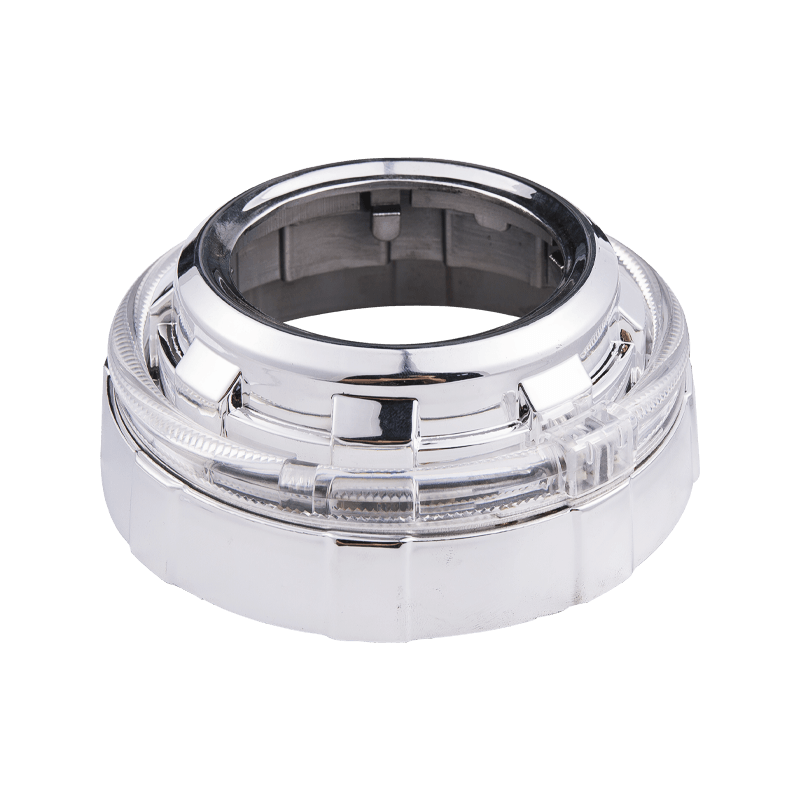
Projector Lens Shrouds serve two purposes that often get treated as separate topics when they are actually connected. Functionally, a shroud shapes and contains the light exiting the lens, sharpening the cutoff line so the beam does not bleed light upward into oncoming lanes. Visually, the shroud is the first thing a person notices when they look directly at a headlight, since it frames the lens opening and often carries a ring, halo, or textured finish.
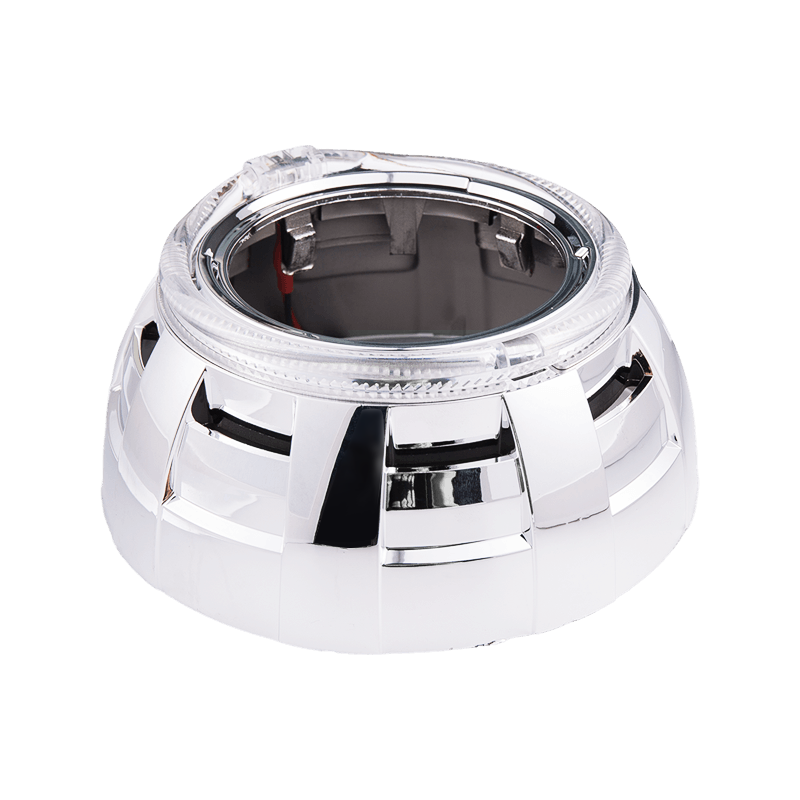
A poorly fitted shroud can introduce light scatter at the edges, which shows up as a soft, hazy glow instead of a defined beam pattern. A properly sized shroud, matched to the lens diameter and mounting depth, keeps that edge tight.
| Shroud Style | Beam Cutoff Sharpness | Glare Control | Typical Styling Impact |
|---|---|---|---|
| Plain Bezel | Moderate | Moderate | Minimal, factory-like |
| Halo Ring | High | High | Strong daytime accent |
| Textured Chrome | High | Moderate | Reflective, layered look |
| Angel Eye Ring | Moderate | High | Distinct signature glow |
Retrofit Compatibility: Matching Housings, Bulbs, and Vehicles
Compatibility is where most retrofit projects succeed or fail. Housing depth, lens diameter, and the mounting bracket geometry all need to line up before a matrix module or shroud will sit correctly. Compact SUV platforms from the early 2010s are a common starting point for hobbyist retrofits, and search activity around terms like 2011 toyota rav4 aftermarket headlights reflects how often owners of that generation look for housings that can accept a projector-based upgrade rather than staying with a basic reflector bulb.
Before ordering parts, three measurements matter most:
- Lens outer diameter, measured at the widest point of the glass or plastic lens
- Housing depth from the mounting flange to the back cover
- Bulb socket type and wiring harness connector shape
Step by Step Retrofit Installation Overview
The process below outlines the general order of operations used in most bench retrofits. Each stage depends on the one before it being done cleanly, so rushing the housing separation step is the most common cause of rework later on.
After reassembly, aiming is not optional. Even a perfectly built projector will produce a poor beam pattern if the housing is not leveled and tested against a wall or aiming board before the vehicle goes back on the road.
Brightness, Lumens, and Beam Pattern Data
Raw brightness numbers get thrown around constantly in retrofit discussions, but lumen count alone does not determine how usable a beam is on the road. Searches for the brightest car lighting setups often lead to disappointment when the beam pattern is uncontrolled, since excess light scattered in every direction creates glare rather than usable visibility.
| Bulb Type | Typical Lumen Output | Color Temperature | Beam Control Without Projector |
|---|---|---|---|
| Halogen | 700 to 1200 lm | 3000K | Fair |
| HID | 2800 to 3500 lm | 4300K to 6000K | Poor without shielding |
| Standard LED | 2000 to 4000 lm | 5000K to 6500K | Poor without lens |
| Matrix LED Module | 3000 to 5000 lm | 5500K to 6000K | Strong, lens focused |
The takeaway for anyone comparing raw automotive light bulbs specs is that output paired with a projector lens and a well fitted shroud almost always outperforms a higher lumen bulb sitting in an open reflector.
Adhesive Preparation and Long Term Sealing
Once the internal lens and shroud work is finished, resealing the housing is what keeps moisture out for years rather than months. Most retrofitters apply a 3m adhesion promoter to the housing seam before running adhesive, since it improves bonding on the textured plastic surfaces common to headlight shells. Skipping this step is one of the most frequent causes of fogging inside a retrofit housing within the first rainy season.
Completing the Look: Bodykit and Exterior Integration
A retrofit headlight looks strongest when the rest of the front end supports it. Pairing new optics with an Upgrade Bodykit gives the front fascia a consistent design language instead of a single upgraded component standing out against an otherwise stock body line.
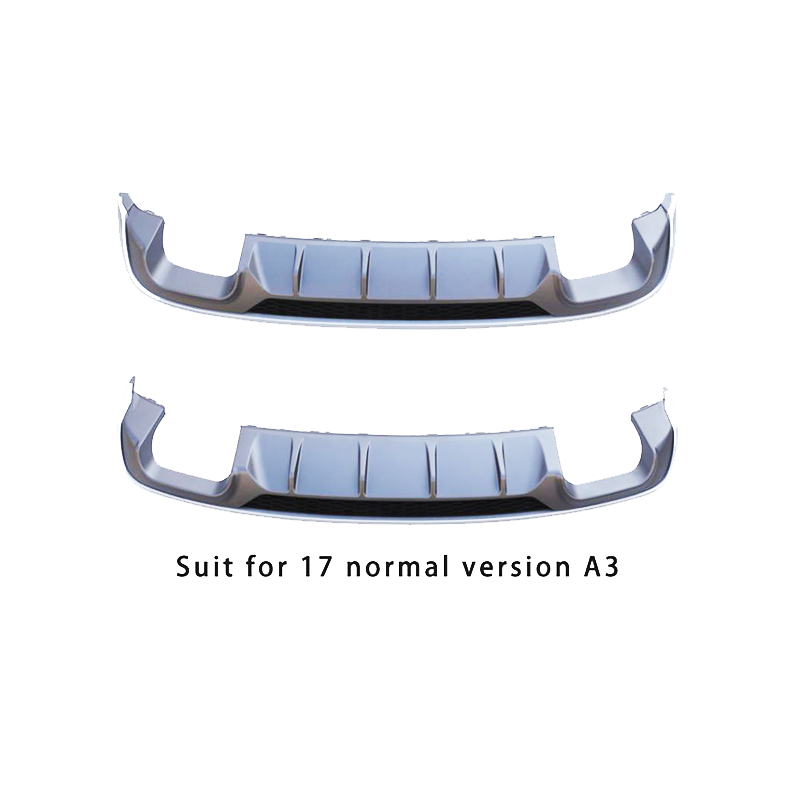
Bumper contours, grille shape, and headlight silhouette all interact visually. A wider shroud ring or a darker lens finish can look mismatched if the surrounding bumper still carries a rounded, factory profile, which is why many owners plan the headlight and body styling changes together rather than in isolation.
Factory Reflector vs Retrofit Projector vs Matrix LED
| Category | Factory Reflector | Retrofit Projector | Matrix LED |
|---|---|---|---|
| Beam Control | Basic | Sharp Cutoff | Adaptive Segments |
| Upgrade Cost | Low | Moderate | Higher |
| Maintenance | Simple | Moderate | Electronics Dependent |
| Styling Flexibility | Limited | High | High |
Frequently Asked Questions
Q1: Do matrix LED headlights require special wiring compared to standard LED retrofits?
Yes, matrix modules need a control unit connection in addition to power and ground, since the segments are switched based on sensor input rather than running as a single always-on circuit.
Q2: Can a projector lens shroud be swapped without replacing the whole housing?
In most cases yes, as long as the housing is opened cleanly and the new shroud matches the lens mounting dimensions of the original setup.
Q3: Why do some retrofits still glare oncoming drivers even with a projector lens installed?
Glare usually comes from incorrect aiming or a shroud gap that lets unfocused light escape around the edge of the lens rather than through it.
Q4: Is a higher lumen bulb always a better choice for a retrofit?
Not necessarily, since a well designed projector and shroud combination with moderate output often produces a cleaner, more usable beam than a very high output bulb in a poorly controlled housing.
Q5: How long should adhesive promoter cure before resealing a headlight housing?
Flash time varies by product, but most installers wait several minutes after application before running the adhesive bead to allow proper bonding.